

Hi guys! Welcome back! I'm going to show you how easy it is to make your own sketchbook with marker paper or ANY other paper. There are a couple of reasons I choose to make them on my own. First of all, I haven't yet found one with a good quality marker paper. Secondly I can make them as big in size as I want, with as many pages as I need. And of course I can save a little bit of money, bacause sketchbooks are usually more expensive than getting a drawing pad. So let's start with what we are going to need.
* You can check out the video here *
Materials Used:
- Paper (I'm using Canson Marker Paper A3+ or 320x480)
- Decorative paper
- Stapler
- Ruler
- Glue
- X-acto knife
- Ribbons and pearls (optional)
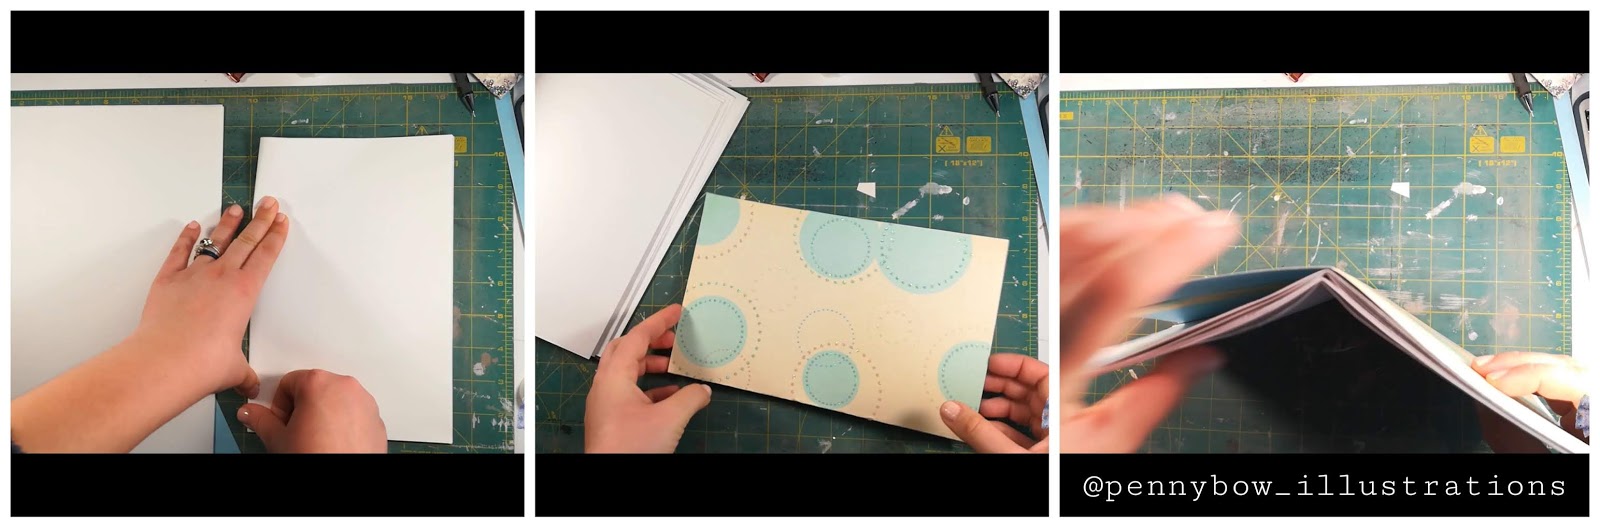
Step 1
Let's get started by cutting away the excess of the paper and I'm going to meseaure the height of my pages. which is 24 cm. I'm marking the cover at 24 cm where I am going to cut it and also at 12cm which is right in the middle and it is where we are going to place the ribbon.

After I cut it,I have two pieces and I am going to use the smaller one to cover and secure the ribbons. I'm putting a small amount of glue roughly in the middle just to hold it in place, and then glue it in the middle of my cover. You don't have to be percise about it, just make sure you are covering the mark we made for the ribbon.

Step 2
Then I am folding my pages and the cover in half and I am going to align them as perfectly as possible. I'm using a couple of clips to hold them in place. Take your stapler an open it. Measure on your cover where you want it stapled. I am marking 5cm from the top and 5cm from the bottom. Now we need our towel.
I am going to put the skecthbook on the top of the towel, pages facing down and then i am putting my stapler right at the point I have marked and I'm applying pressure. Do the same thing from the other side. It might take you a little bit of effort to get it completely centered. I can now remove the clips and close the staples. Use your hands or even a pen, I'm using the back of my exacto knife. Just make sure the lid is on.

Step 3
We are almost done. we need to cut the excess of our pages, so I'm placing my ruler right on the edge of the cover and cutting the pages with my knife. Take your time with it because It is not possible to cut all the pages in one time so do it as many times as you need to, just make sure that you are holding your ruler in place.

Step 4
Time to glue on the ribbons. I've cut the piece in half to use one as a bookmark and one as the closure. The last one i'm cutting in half again and then i'm putting a good amount of glue on my cover, placing the ribbon on my mark and pressing the papers together. Same thing on the other side only this time I'm also placing my bookmark. You can use a lighter to secure the ends so they won't fray and I'm also putting a pearl on my bookmark which is completely unnecessary but I really like the way it looks.

That's all! You can now go ahead and make yourselves the most unique and amazing sketchbooks, to carry around with you, so you won't miss another moment of inspiration!


